Guide: upload on-premises content to SharePoint Online
This is my guide to upload on-premises content to SharePoint Online, using SharePoint migration tool.
The first step is download the new Sharepoint migration tool: https://docs.microsoft.com/en-us/sharepointmigration/introducing-the-sharepoint-migration-tool

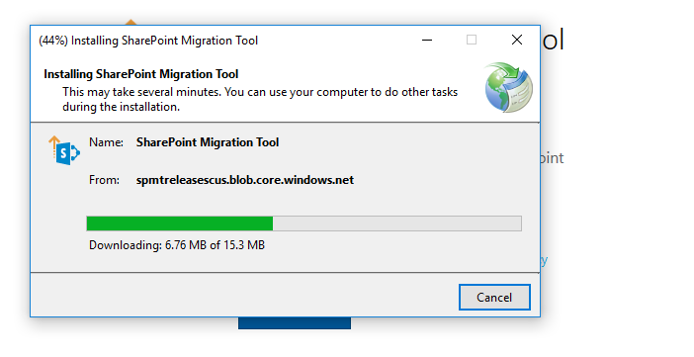
Install the tool
Run the tool
Sign in with your admin account in the tool, select one of the options to migrate from
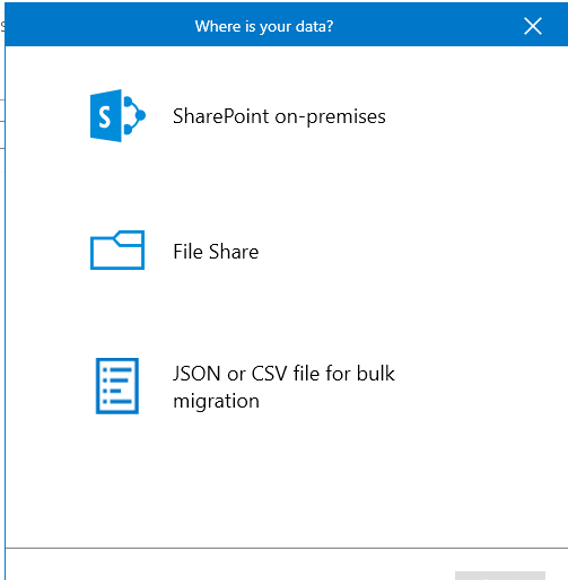
File share
Select the folder and files you want to migrate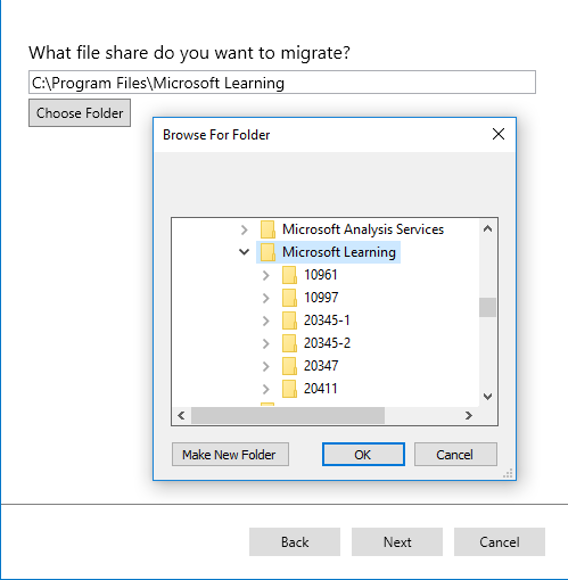
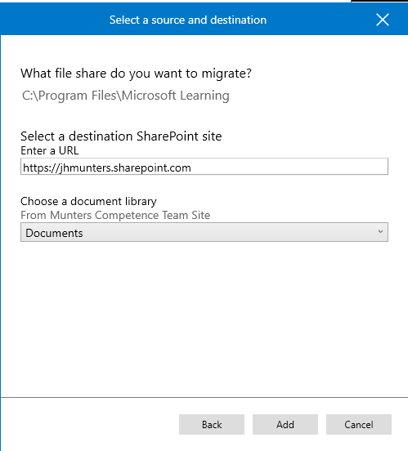
Select destination
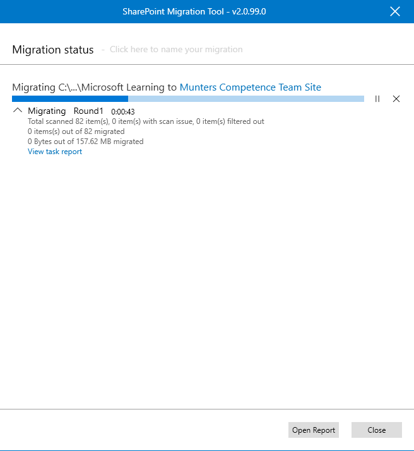
View the progress
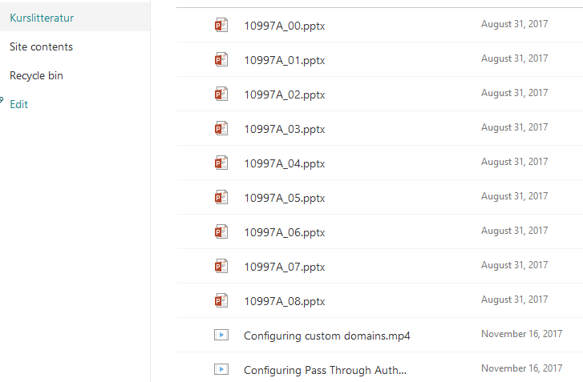
View the Sharepoint library
As seen to the right even the files metadata is preserved!
There are global settings to the tool, where user mapping to Azure AD is done, and preservation av right to the files.
There detailed reports created by the tool, to see statistics and more!
Steps you need to do without the tool:
Step 1: Install the SharePoint Online Management Shell
Step 2: Setup your working directory
Step 3: Determine your locations and credentials
Step 4: Create a new content package from an on-premises file share
Step 5: Convert the content package for your target site
Step 6: Submit content to import
(Optional) Step 7: Processing and Monitoring your SPO Migration
Summary: Sharepoint Migration
1. Tool Easy to use
2. Easy to run
3. Great features
Jörgen Hjärtenflo
IT Architect and owner
Langate System AB